Cuboid Versions of 3D Simulation Scenes in Driving Scenario Designer
The Driving Scenario Designer app provides prebuilt scenarios that recreate scenes from the 3D simulation environment within the cuboid simulation environment. In these cuboid versions of the scenes, you can add vehicles represented using simple box shapes and specify their trajectories. Then, you can simulate these vehicles and trajectories in your Simulink® model by using the higher fidelity 3D simulation versions of the scenes. The 3D environment renders these scenes using the Unreal Engine® from Epic Games®. For more details about the environment, see Unreal Engine Simulation for Automated Driving.
Choose 3D Simulation Scenario
Open the Driving Scenario Designer app. At the MATLAB® command prompt, enter drivingScenarioDesigner.
The app stores the 3D simulation scenarios as MAT-files called scenario files. To open a scenario file, first select Open > Prebuilt Scenario on the app toolstrip. The PrebuiltScenarios folder that opens includes subfolders for all prebuilt scenarios available in the app.
Double-click the Simulation3D folder, and then choose one of the scenarios described in this table.
| File Name of Cuboid Scenario | Description | Corresponding 3D Scene |
|---|---|---|
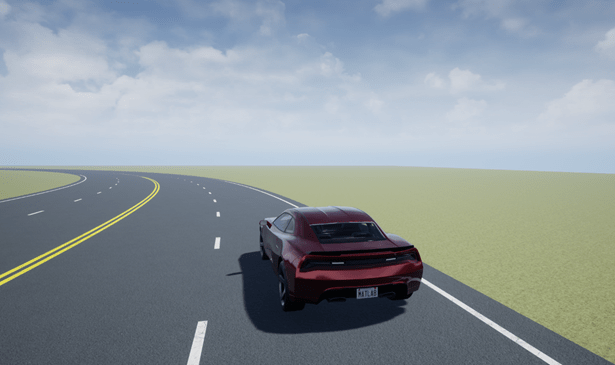
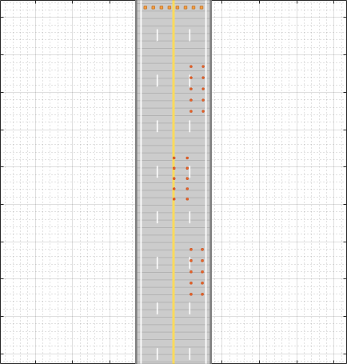
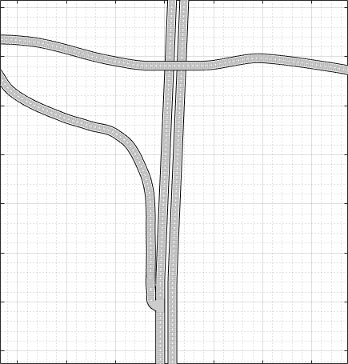
CurvedRoad.mat | Curved, looped road
|
|
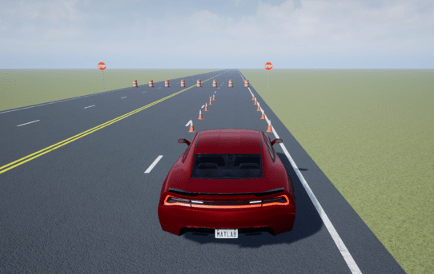
DoubleLaneChange.mat | Straight road with traffic cones and traffic barrels that are set up for executing a double lane change The cuboid version does not include the traffic signs or traffic light that are in the corresponding 3D scene.
|
|
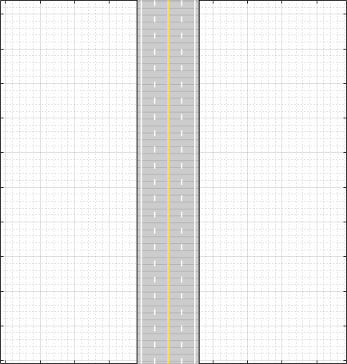
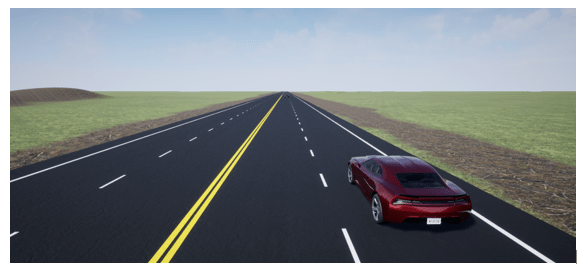
StraightRoad.mat | Straight road segment
|
|
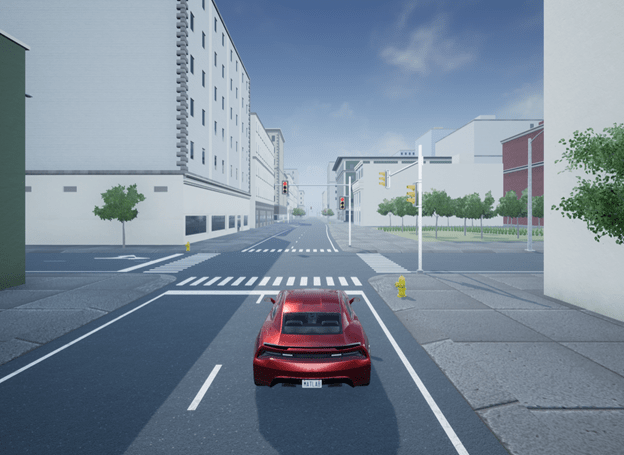
USCityBlock.mat | City block with intersections and barriers The cuboid version does not include the traffic lights that are in the corresponding 3D scene. It also does not include crosswalk or pedestrian markings at intersections or objects inside the city blocks, such as buildings, trees, and fire hydrants.
|
|
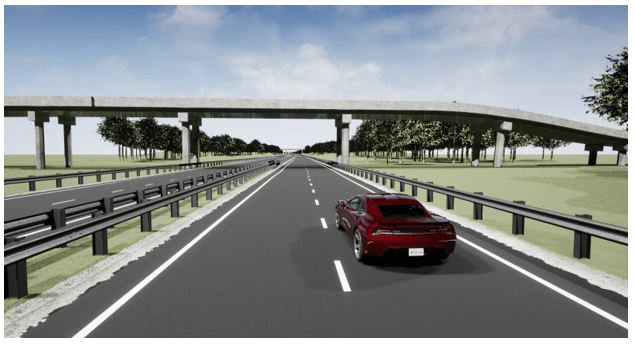
USHighway.mat | Highway with traffic cones and barriers The cuboid version does not include the traffic signs or guard rails that are in the corresponding 3D scene.
|
|


Note
The Driving Scenario Designer app does not include cuboid versions of these scenes:
To generate vehicle trajectories for these unsupported scenes or for custom scenes, use the process described in the Select Waypoints for Unreal Engine Simulation example.
Modify Scenario
With the scenario loaded, you can now add vehicles to the scenario, set their trajectories, and designate one of the vehicles as the ego vehicle. For an example that shows how to do complete these actions, see Create Driving Scenario Interactively and Generate Synthetic Sensor Data.
If you plan to simulate these vehicles in the corresponding 3D scene, avoid modifying
the road network or existing road objects, such as barriers and traffic cones.
Otherwise, you can break parity between the two versions and simulation results might
differ. To prevent such accidental changes to the existing road network, road
interactions are disabled by default. If you want to modify the road network, in the
bottom-left corner of the Scenario Canvas pane, click the Configure
the Scenario Canvas button ![]() . Then, select Enable road
interactions.
. Then, select Enable road
interactions.
You can add sensors to the ego vehicle, but you cannot recreate these sensors in the 3D environment. The environment has its own sensors in the form of Simulink blocks. For more details, see Choose a Sensor for Unreal Engine Simulation.
Save Scenario
Because these scenarios are read-only, to save your scenario file, you must save a copy of it to a new folder. On the app toolstrip, select Save > Scenario File As.
You can reopen the saved scenario file from the app. Alternatively, at the MATLAB command prompt, enter this command, where scenarioFileName represents the scenario file to open.
drivingScenarioDesigner(scenarioFileName)Recreate Scenario in Simulink for 3D Environment
After you save the scenario file containing the vehicles and other actors that you added, you can recreate these vehicles in trajectories in Simulink. At a high level, follow this workflow:
Configure 3D scene — In a new model, add a Simulation 3D Scene Configuration block and specify the 3D scene that corresponds to your scenario file.
Read actor poses from scenario file — Add a Scenario Reader block and read the actor poses at each time step from your scenario file. These poses comprise the trajectories of the actors.
Transform actor poses — Output the actors, including the ego vehicle, from the Scenario Reader block. Use Vehicle To World and Cuboid To 3D Simulation blocks to convert the actor poses to the coordinate system used in the 3D environment.
Specify actor poses to vehicles — Add Simulation 3D Vehicle with Ground Following blocks that correspond to the vehicles in your model. Specify the converted actor poses as inputs to the vehicle blocks.
Add sensors and simulate — Add sensors, simulate in the 3D environment, and view sensor data using the Bird's-Eye Scope.
For an example that follows this workflow, see Visualize Sensor Data from Unreal Engine Simulation Environment.