Co-simulating with Unreal Editor | Using Unreal Engine with Simulink, Part 3
From the series: Using Unreal Engine with Simulink
Part 3 of the series describes how you can co-simulate Simulink® and the Unreal® Editor to perform tests with a custom scene, either by modifying one of the scenes included in the support package, or by creating one from scratch.
Published: 13 Oct 2021
In the last video, we installed the support package to work with custom scenes. In this video, I'll show you how to co-simulate custom scenes with the Unreal Editor and Simulink. I'll cover both modifying the scenes included in that support package or creating a scene from scratch.
For this example, I'm going to open the Double Lane Change reference application, then navigate into the Visualization subsystem. If I go under the green subsystem, you'll see there's a Scene Configuration block. This is what we use to connect Simulink to Unreal. You'll see the options are there for selecting different default scenes. But I'm going to switch that to Unreal Editor. This gives me the option to select the new project file. So I'll select the file that I copied over from the support package install. Now I can click on Open Unreal Editor to launch Unreal. It's important to make sure you're launching Unreal this way. Otherwise, Simulink you won't know how to connect to the Unreal Engine application.
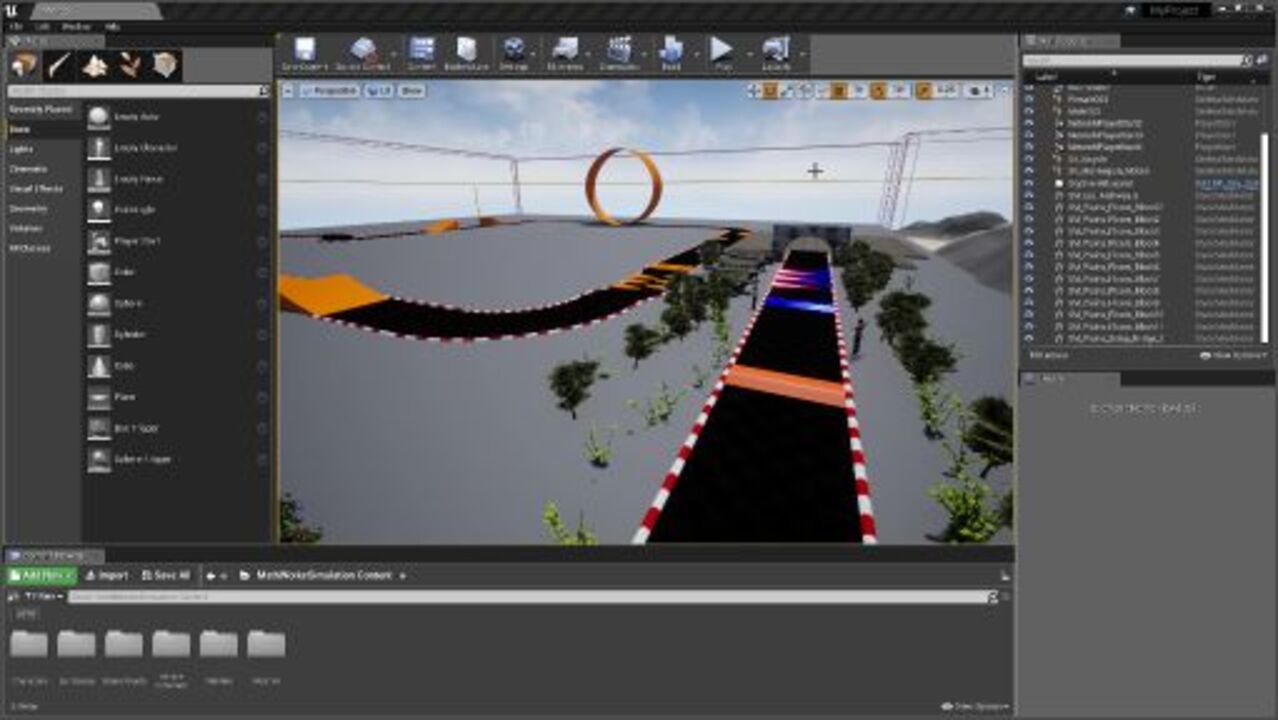
Once the Unreal Editor opens, I can modify any of the scenes in the project I selected. The support package comes with a few scenes to help you get started. I'll start with a straight road here. You could see how I can modify that a bit. To keep it simple, I'll just add a few assets, like some barrels and a cone.
Now I'm ready to start the co-simulation with my custom scene. So back in my Simulink model, I press the Run button. This will start the model compilation. Once I see the status is initializing, I can press play in the Unreal Editor. And at this point, both Simulink and Unreal are running simulations, communicating with each other through the MathWorks plugin that we installed in the previous video.
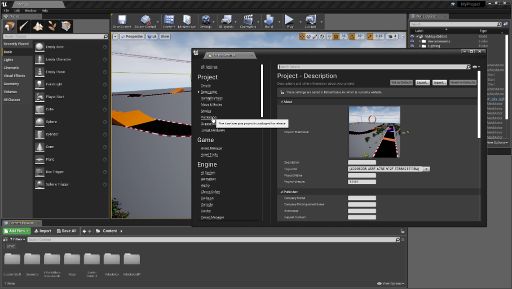
This was all done using the starter scene provided in the support package. But what if I wanted to start my own project from scratch, you could do that to. Create your Unreal Engine scene as you normally would. Here I started with one of the Unreal Editor tutorial scenes for a vehicle game, then customized it a bit with other assets available in the Editor. Once you're ready to interface it with Simulink, you have to do what's called reparenting the level blueprint to the MathWorks blueprint. This is so that the actors, like the vehicles in your scene, know how to communicate with Simulink.
To do this, I'll go to the Unreal Editor toolbar, select Blueprints, Open Level Blueprint. Then select File, Reparent Blueprint. If you installed the MathWorks interface plug-in properly and enabled that plug-in, you should be able to select the Sim3dLevelScriptActor blueprint from that list. Now, if you didn't use Simulink to open this Unreal Editor session, you'll need to save your project, close the editor, and reopen the project from Simulink as we did in the previous video. Then you can follow the same steps as before to run Simulink with your new scene.
Before we do that, however, I'm going to add one little trick. The videos we've done thus far are using steering commands that come from the Simulink model. In some cases, you might want to input those steering commands yourself from running within the simulation. In my case, I've hooked up a Logitech F310 game pad to my Simulink model using the block you see here. This interprets the signals coming from my USB port from the controller and maps them to input signals for my vehicle model, like the gas pedal, brakes, and steering commands.
Once I have the game pad connected, I'm ready to test my custom scene. Once again, I'll make sure the Editor was launched from my Simulink window. Then I'll hit Run in Simulink, wait for it to say Initializing, then press Play in the Unreal Editor. Once it's initialized, I can control the vehicle throttle and steering commands from my Logitech controller. As you can see, I'm not the best driver. But hey, practice makes perfect.
Now, there's, of course, a lot more you can do to customize your scenes. But hopefully, this shows you the basic steps to get you started. In the next video, I'll show you how to compile your custom game into an executable that runs without the Unreal Editor.
Select a Web Site
Choose a web site to get translated content where available and see local events and offers. Based on your location, we recommend that you select: United States.
You can also select a web site from the following list
Americas
- América Latina (Español)
- Canada (English)
- United States (English)
Europe
- Belgium (English)
- Denmark (English)
- Deutschland (Deutsch)
- España (Español)
- Finland (English)
- France (Français)
- Ireland (English)
- Italia (Italiano)
- Luxembourg (English)
- Netherlands (English)
- Norway (English)
- Österreich (Deutsch)
- Portugal (English)
- Sweden (English)
- Switzerland
- United Kingdom (English)